nVidia RTX 3090 Founder's Edition - Thermal Pad Modification
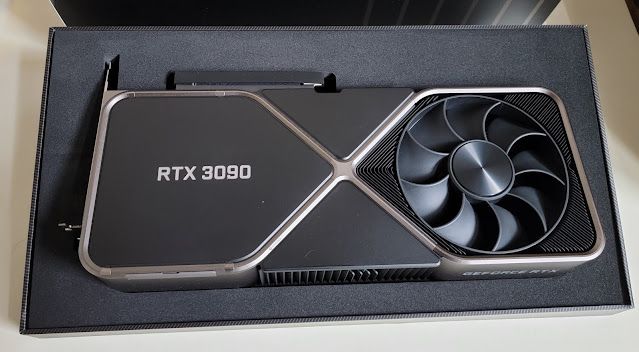
nVidia's RTX 3090 is a beast of a GPU featuring the latest Ampere architecture with 10,496 CUDA cores and 24GB GDDR6X. Like many products these days it's suffering from limited availability, but I finally managed to acquire one.
The 3090 replaces my aging GTX 1070 Ti FTW2 as the primary gamer and boosts my daggerhashimoto rate for Ethereum mining. Unfortunately the 3090 cooling system is not well suited for mining workloads and upon firing up NiceHash, the VRAM temperature quickly reached 110C and began throttling due to excessive heat. Searching the web I found a solution - link. There are two paths - replacement of all thermals pads front and back or replacement of just the back. I elected to do a full replacement (as it's not terribly difficult to continue once the card is torn apart) and followed link.
-WARNING- This process may void the warranty of your GPU and carries some risk that damage will occur. Do not attempt unless you feel completely comfortable with electronics repair and take all necessary precautions. Note that if you damage your card it will be exceedingly difficult to get a replacement given current conditions.
Safety, Tools, and Materials #
If you've done electronics work of any significance you'll have all tools necessary -
- Fine Pitch Torx Screwdrivers
- Fine Pitch Phillips
- Plastic Prys
- Tweezers
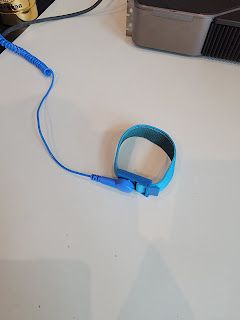
- ESD strap + mat
- Part tray
On the consumables front, the thermal pads will be the unique item -
- Alcohol + Swabs
- Thermal paste
- Thermal pads (85mm x 45mm x 1.5mm @ 12.8 W/mK) x 3
- Electrical tape
High-speed electronics are very sensitive to ESD and I recommend an ESD strap and mat for doing any teardown/repair work.
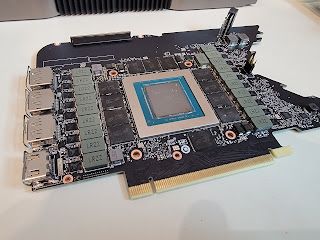
Front #
Although the teardown will begin with the backplate and progress to the front of the PCB, it makes no sense to begin modding along the way of the teardown. I get that it makes for a more action packed video, but it creates far more hassle to dance two sides of the board with sticky thermal pads and thermal paste.
Once torn down fully, commence with cleanup of the heatsink contact surfaces.
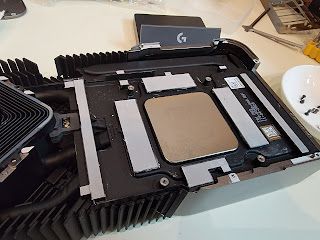
Then progress with cleanup of the ICs as well as removal of all thermal paste. nVidia chose a compound which cures, while I prefer pastes which do not as they provide more flexibility.
Once clean, reapply thermal compound and the thermal pads according to the dimensions in the video. Reassemble the PCB to the heatsink.
Back #
The back of the PCB is easy and I found a few videos on YouTube which detail a back-only mod. But if you risk voiding warranty, get all the benefit and mod all the way.
Remove all the debris and old pads, just as you did with the front (Note: I removed debris as I tore down)

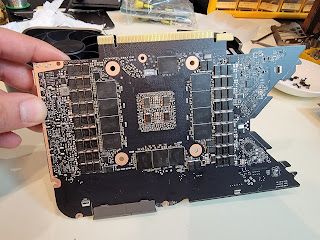
Apply thermal pads in accordance with the sizes stated in the video.
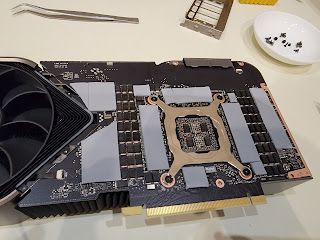
Reassemble.

Success! #
Where previously I could get 80-85MH/s @ 95C, I'm now 110-115MH/s @ 94 - 96C - dramatic improvement!
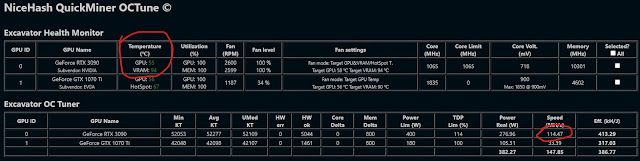
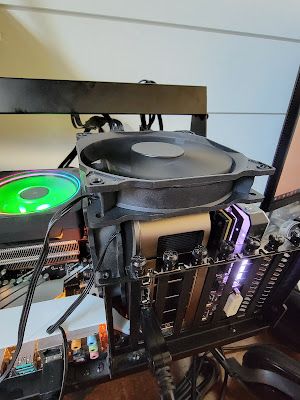
To keep things on the cooler side of 95C (max operating temperature), I placed two 12V chassis fans on the hot end of the card. Perhaps not entirely necessary, though I do want to keep the card running for the long haul.